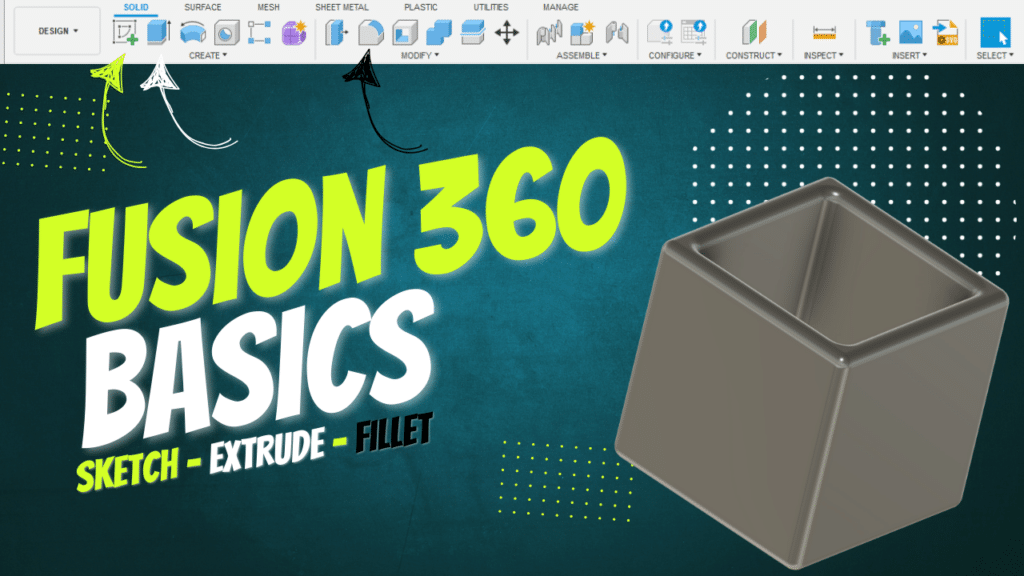
Getting Started with Fusion 360 for Beginners
Fusion 360 for Beginners is your gateway to turning ideas into 3D models. In this guide, we walk through the essential tools you need to get started—from sketching and extruding to filleting and applying constraints.
Full video can be seen here.
Sketching in Fusion 360 for Beginners
Sketching is the foundation of any model in Fusion 360. Once you launch the sketch tool, you’ll choose a plane to draw on—typically one of the default planes like the bottom face. Fusion 360 provides basic sketching tools like lines, rectangles, and circles.
A helpful tip: use the Center Rectangle tool to draw from the midpoint of the plane. This makes symmetry and constraints easier to manage.
You can quickly input exact dimensions while sketching by hitting Tab to move between dimension inputs.
Using the Extrude Tool in Fusion 360 for Beginners
With your sketch complete, it’s time to turn it into a 3D model using the Extrude Tool. You can access it from the menu or press E as a shortcut. Click on your sketch, set the height or thickness, and boom—you’ve got a 3D shape.
This is where you can also learn to navigate your view using Shift, Ctrl, and Alt keys combined with your mouse.
Constraints and Sketching Tips
Once you have a 3D object, you can sketch directly onto its surfaces. This is useful for creating holes, grooves, or design elements that interact with existing geometry.
Constraints help keep your sketches clean and predictable. For example, using the Equal constraint ensures multiple circles stay the same size. You can also lock objects vertically or horizontally and link dimensions so changing one updates the rest.
Cutting, Offsetting, and More Advanced Features in Fusion 360 for Beginners
Want to cut into your model? Use Extrude again, but in the opposite direction. Select the faces you want to cut, set a negative distance or use the To Object option to cut exactly to a surface.
The Offset feature is great for keeping holes or cuts a specific distance from a surface. Combine this with the Inspect tool to verify dimensions.
Creating a Shell and Filleting Edges
To hollow out a model, you can either use extruded sketches or the Shell Tool, which is faster and more efficient. Just pick the face to remove and set your desired wall thickness.
Once your shape is built, use the Fillet Tool to round off edges and give it a sleek, finished look. You can select multiple edges at once or entire faces depending on your design.
Final Thoughts
These are just the basics of what Fusion 360 can do. By mastering sketching, extruding, constraints, and basic tools like shell and fillet, you’ll be well on your way to creating clean, functional 3D models.
Have a question or want to see a tutorial on a specific tool or project? Leave a comment or reach out—I’m always happy to help!
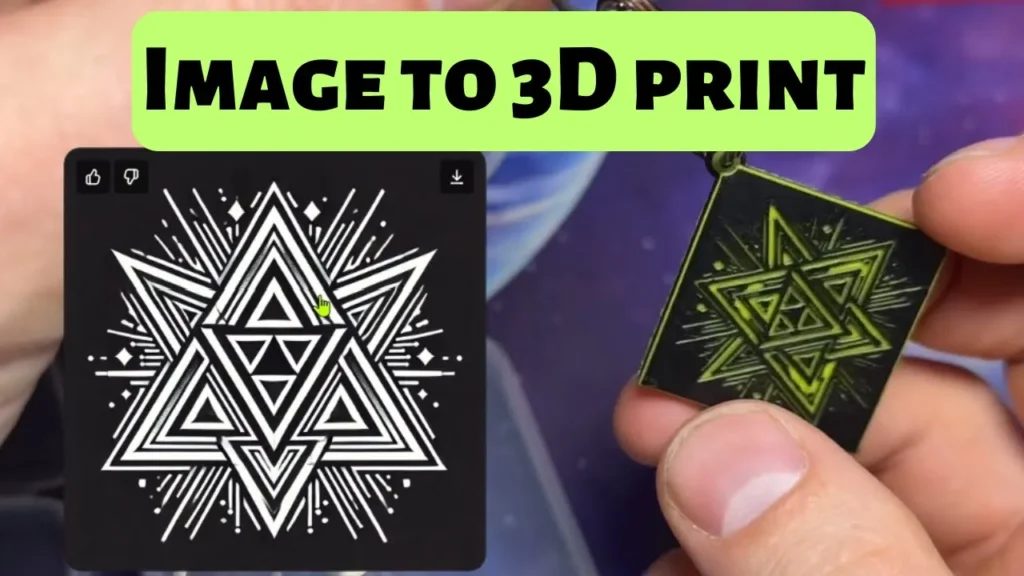
To bring images and models together for 3d-printing check out our other post here.


